Building Steps
- Set up a Site
- Create a Template
- Create a CSS File
- Link to a CSS File
- HTML Basics
- Set Page Margins & Background
- Create Site Structure
- Create a Three Column Layout
- Style Headings and Paragraph Tags
- Style Website Links
- Create Breadcrumb Links
- Style Round Cornered DIVs #01
- Style Round Cornered DIVs #02
- Create Navigation Tabs
- Adding a Footer
- Create Editable Regions
- Name the Categories
- Create a Page from the Template
- Create a Library Item
- Creating More Pages
pageSUMMARY
Prepare the top navigation bar as if for the Home Page and create a Library Item from it. Duplicate and alter it for each of the other main categories.
Creating a Library Item in Dreamweaver
Create a Library Item from the top navigation bar
As I mentioned earlier, we want to minimise the amount of work spent on updating the top level navigation whenever site updates are required. Ideally, we only want to update as many navigation files as there are main categories. In this case (at the time of publication), that means we need six navigation library items. We’ll create the first one using the content on the Home Page, duplicate the new library item five times, rename the duplicates and edit them separately.
What is a Library Item?
A library item is simply a piece of code that can be placed anywhere in a site. It’s usually a commonly repeating item that is subject to change. You only need to change the original file - and then every instance of it throughout the website will be automatically updated.
The easiest way to create a library item is to select the required code on a page - and when you select ‘New Library Item’ from the Library Palette, the selected code on the page will turn yellow and become uneditable.
Lets make one for the top level navigation.
Create a Library Item
With the new index.html open, select the menu-container DIV Tag (figure 1). Select:
WINDOW/ASSETS
...which will open the Assets Panel (if it’s not already open).
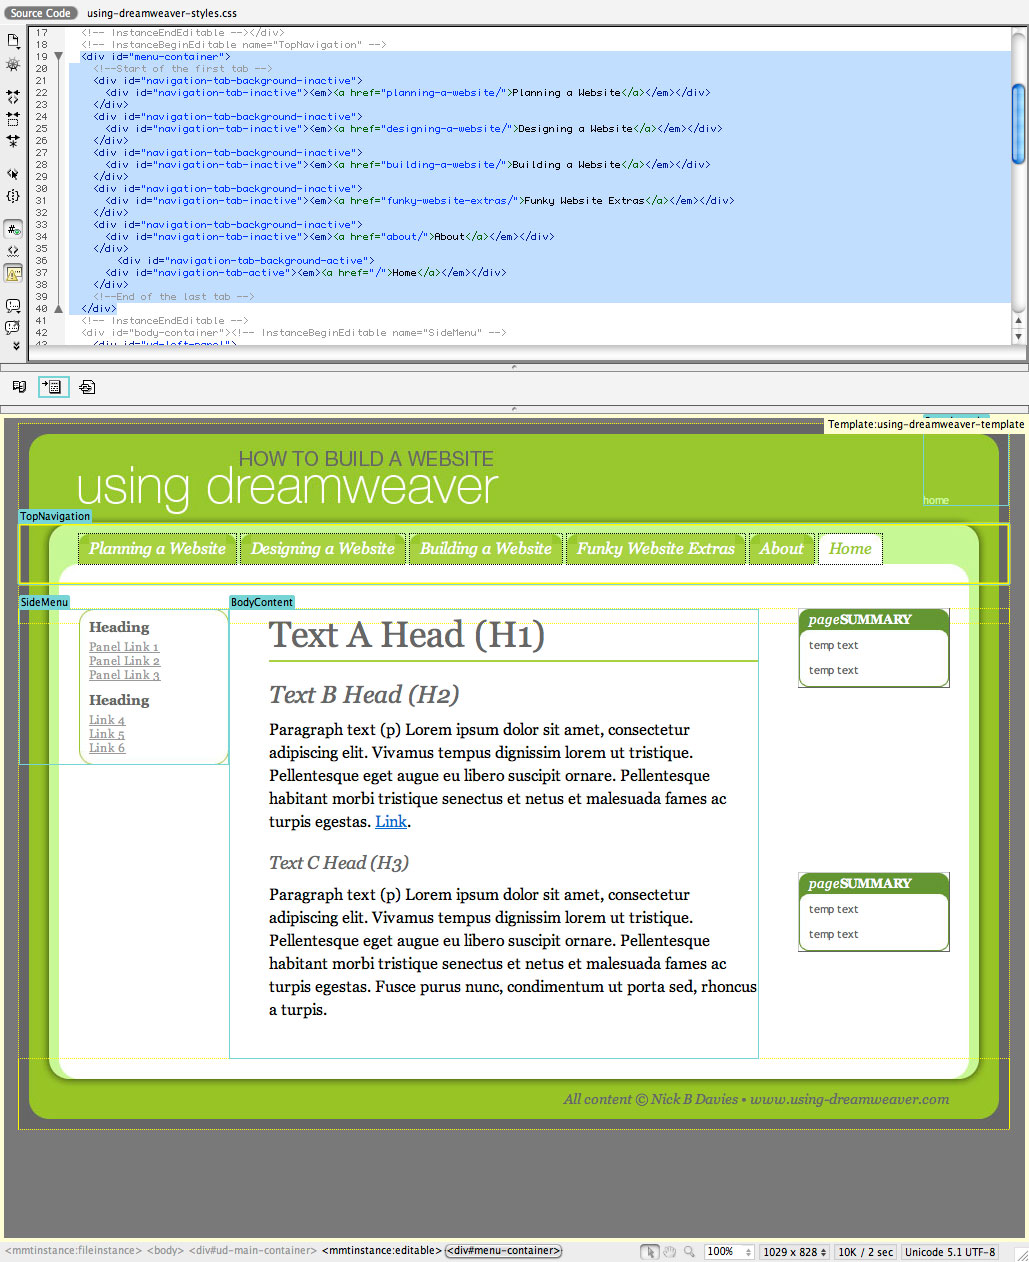
Figure 1
Click the Library button at the bottom of the pile of icons on the left (it looks like an open book). Now, either select New Library Item from the little submenu (in the top right of the pane) or click the New Library Item button at the bottom (a page icon with a + over it).
You should see a warning dialogue box appear which refers to CSS styles (figure 2) which reads:
“This selection may not look the same when placed in other documents because the Style Sheet information is not copied with it”.
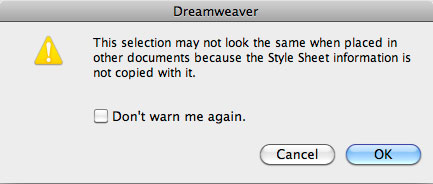
Figure 2
This needs to be borne in mind whenever you edit the library item. When you open it it will appear to be completely unstyled - because no reference to the stylesheet has been included with it. However, whenever it appears in a page which does link to the stylesheet, it’ll look just fine.
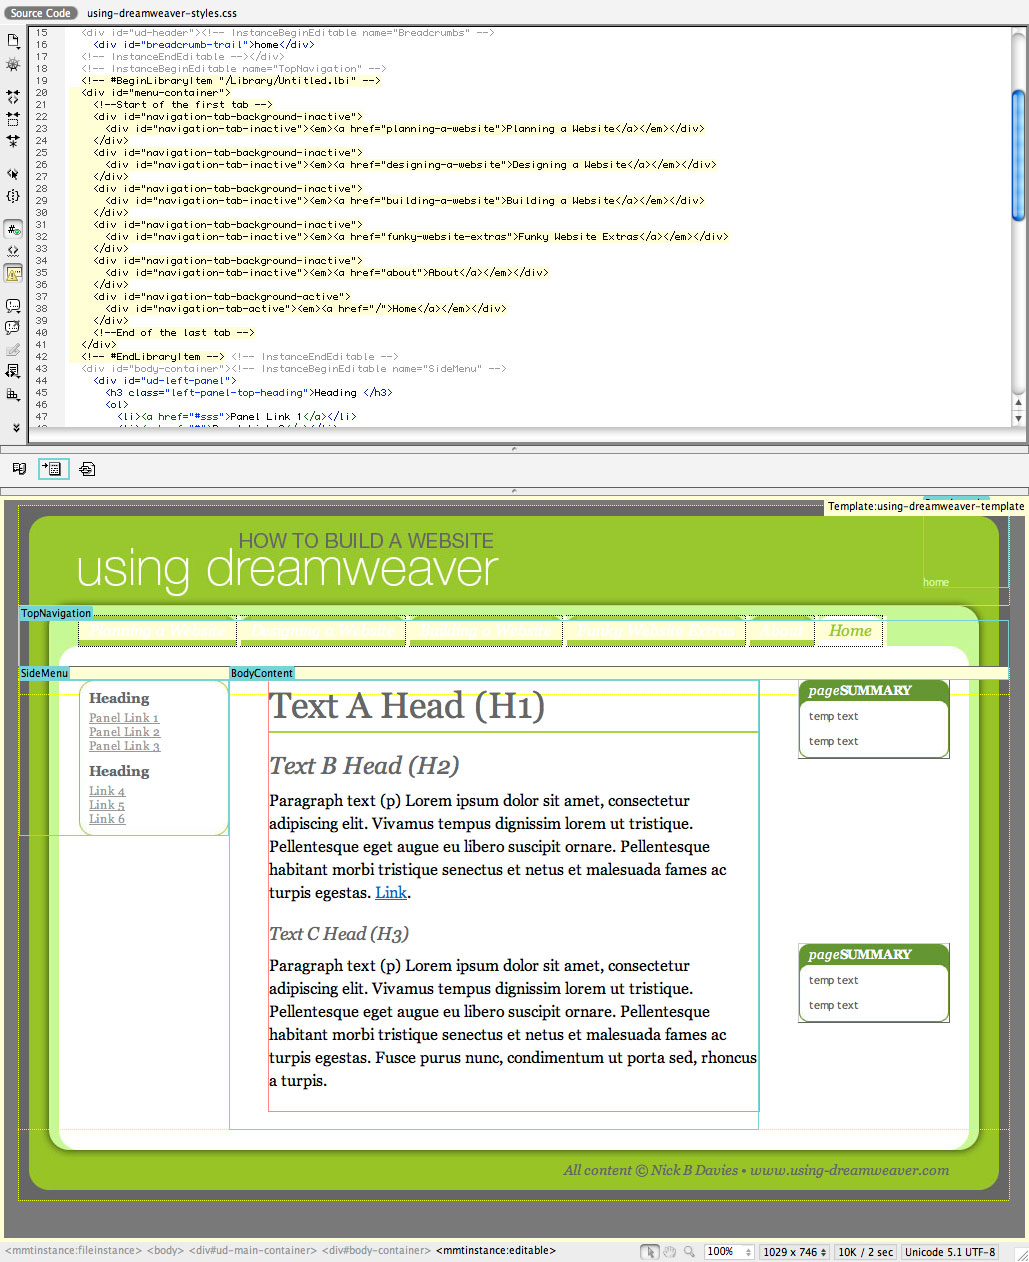
Figure 3
The result should look like figure 3, and a new library item should appear in the Assets Pane (figure 4).
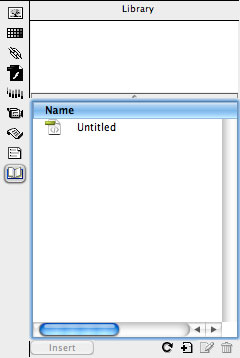
Figure 4
The item will appear as ‘Untitled’ (in later versions of Dreamweaver you’ll be give to opportunity to name the library item as you create it). Click once on the name, wait for the naming field to become editable and give the item a name - in this case “Nav01-Home”. A dialogue box will appear asking if you want to ‘Update links in the following files?”. A list of all pages containing the library item will appear - in this case it’ll just be the Home Page (index.html). Click Update.
If you look in your Files window, you’ll also see that a new ‘Library’ folder has been automatically created - and all Library items will go in here (figure 5).
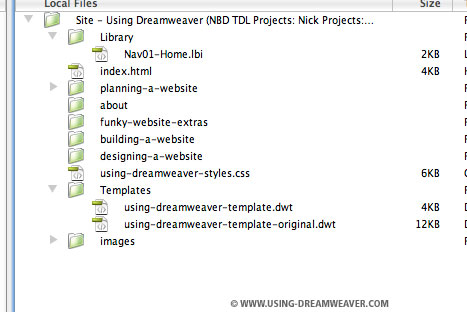
Figure 5
Duplicate and edit the Library Item
Open the new Library Item either from the Assets Pane or from the Library directory - and you’ll be presented with a completely un-styled snippit of code (figure 6).

Figure 6
First we’ll save a copy for the ‘Designing a Website’ section. Select:
File/Save As…
...and save the file as Nav02-Designing-a-Website.lbi
The new page will automatically open as a copy, and you’ll see the original Nav01-Home open in a different tab.
Now we’ll make the “Designing a Website” tab active and the “Home” tab inactive. Locate the ‘Designing a Website’ tab in the Code Pane and make the following changes:
navigation-tab-background-inactive
needs to be changed to:
navigation-tab-background-active
navigation-tab-inactive
needs to be changed to:
navigation-tab-active
Make the opposite changes to the ‘Home’ tab (active to inactive), save and close the library item. You won’t see any difference in the Design Pane of the Library Item, but when you place the item into a page, you will.
Place a Library Item into a Page
Now we’ll create the default page for the ‘Designing a Website’ Section. Select:
File/New
Select Page from Template, and then choose your new template from the list. Click Create and save the resulting page as index.html into the designing-a-website directory.
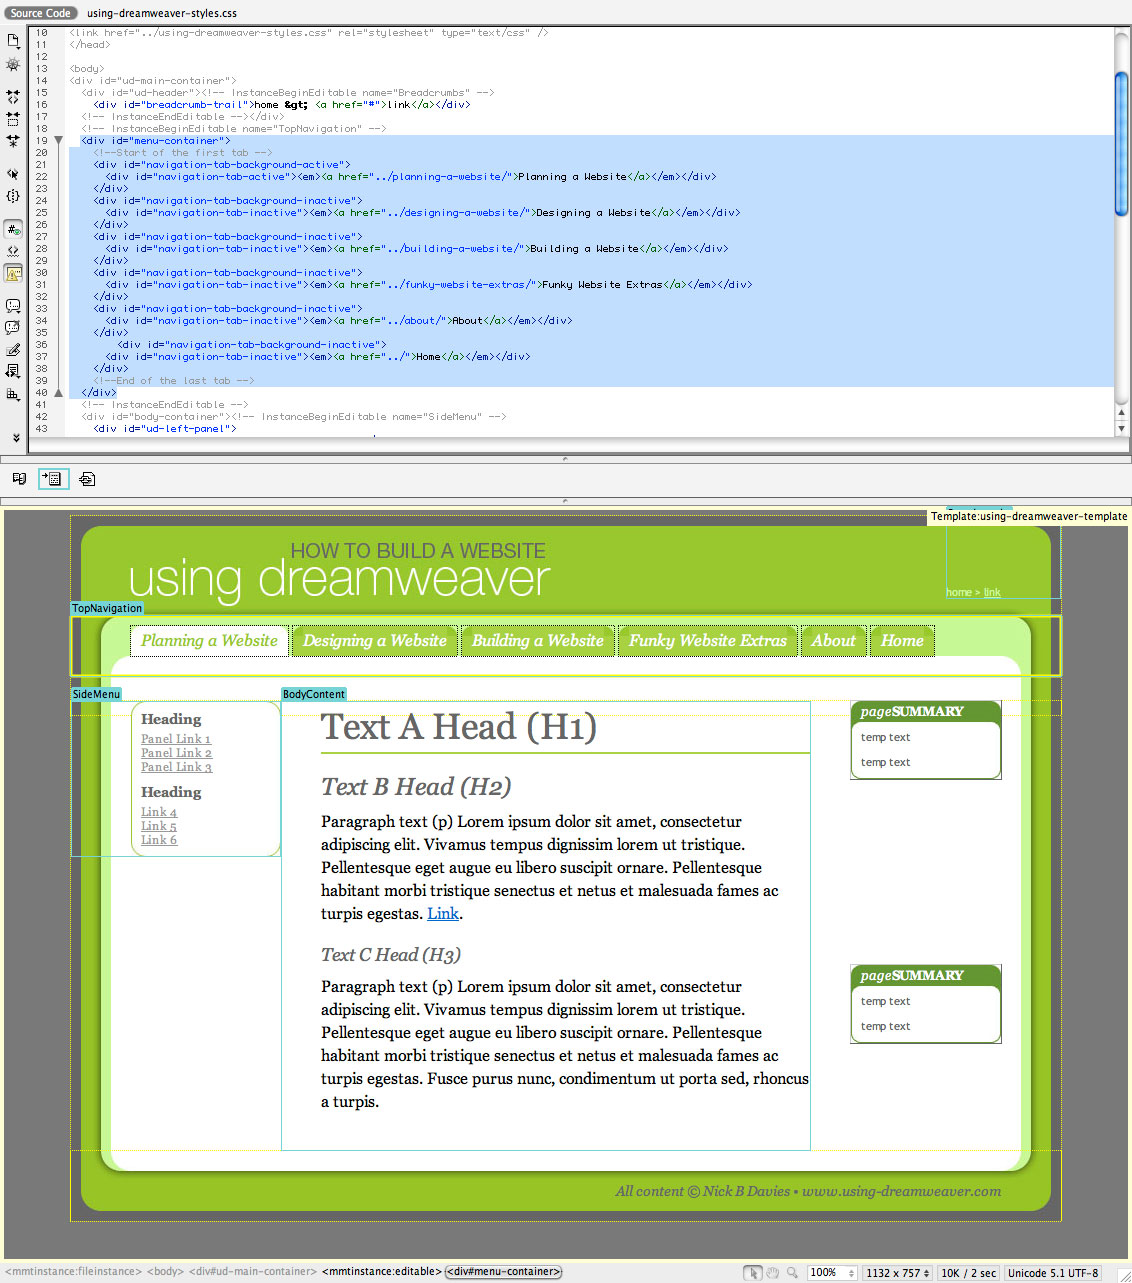
Figure 7
Select the menu-container DIV Tag (figure 7), locate and select the Nav02-Designing-a-Website Library Item (figure 8) and click the Insert button at the bottom of the Assets Pane.
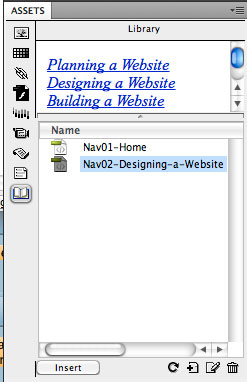
Figure 8
The Library Item will replace the existing menu. When you save the page and ‘Preview in Browser’ (figure 9), you’ll be able to click on the Home button and the Designing a Website button, flicking between the two pages.
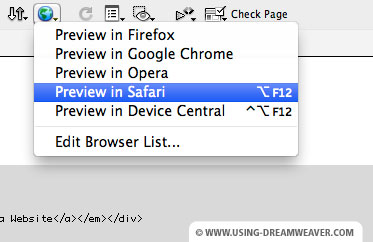
Figure 9
Simply repeat this process for the remaining sections and you’ll have the framework for a fully functioning website.
Creating a Library Item in Dreamweaver - End of Article
Go to previous article | Go to Home Page | Go to next article
Feedback required!
Please send any questions or feedback to: feedback@using-dreamweaver.com or leave it on our Facebook page.