Building Steps
- Set up a Site
- Create a Template
- Create a CSS File
- Link to a CSS File
- HTML Basics
- Set Page Margins & Background
- Create Site Structure
- Create a Three Column Layout
- Style Headings and Paragraph Tags
- Style Website Links
- Create Breadcrumb Links
- Style Round Cornered DIVs #01
- Style Round Cornered DIVs #02
- Create Navigation Tabs
- Adding a Footer
- Create Editable Regions
- Name the Categories
- Create a Page from the Template
- Create a Library Item
- Creating More Pages
pageSUMMARY
How to link a CSS document to a Dreamweaver page.
Linking to a CSS Document in Dreamweaver
Link the CSS file to your template and get to grips with HTML basics
WordPressDESIGN
This website focuses primarily on creating a 'static' website rather than a content managed website. However, I still use Dreamweaver when working with dynamic sites - and WordPress is my CMS of choice.
WordPress is by far the most used content management system on the planet - and if you want to dip your toe into creating database-driven websites, this is the one I'd suggest you use. In order to side-step overly complex coding, I use Toolset plugins to help me create complex functionality without worrying about how to code. I highly recommend you check them out if you want to move to WordPress development and you're concerned about PHP coding.
To link your new CSS file to your Dreamweaver template, first open the template document. Open the CSS STYLES window:
WINDOW/CSS STYLES
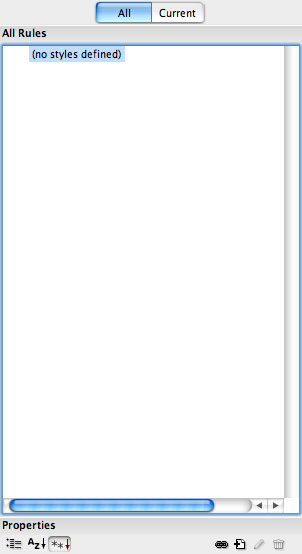
At the bottom of the CSS Styles window you’ll see a little ‘Attach Style Sheet’ chain link symbol (figure 1). Click it.
In the Attach External Style Sheet dialogue box:
Click Browse, then the Site Root button in the next window (which’ll navigate to your site root), and finally select your CSS file.
Click Choose.
Back at the Attach External Style Sheet dialogue box, click OK.
At this stage we’re not going to worry about the additional media options - suffice to say that we can utilize different CSS documents to achieve different results from a single page. For example, a new CSS file specifically created to make the page more printer friendly can be attached to the same HTML template or page so that when PRINT… is selected, what prints out is significantly different to what appears on screen.
More of that later.
Once the CSS file has been attached, the file should become visible in the CSS Styles window. Also, with Code or Split view turned on (at the top of the template page) you’ll see that a new line has been added which references the new CSS style file:
<link href="../using-dreamweaver-styles.css" rel="stylesheet" type="text/css" />
This leads nicely onto a simple introduction to HTML.
Linking to a CSS Document in Dreamweaver - End of Article
Go to previous article | Go to Home Page | Go to next article
Feedback required!
Please send any questions or feedback to: feedback@using-dreamweaver.com or leave it on our Facebook page.